Quick setup
After activating Freesoul, you will be redirected to the Quick Setup screen (also accessible from Freesoul Settings => Quick Setup).
The quick setup is divided into 4 steps that will allow you to:
- Automatic pages creation.
- Static and blog page settings.
- Preliminary style.
- Site identity.
Or you can decide to skip all the steps above and import your favorite demo content just with one click.
Let’s see the details.

In this step, you can assign the names of the pages and sub-pages you want in your site and decide which of them should be included in the main navigation.
By default Freesoul will present you the most common pages, you can always delete pages clicking on the “X” of the page and add new ones clicking on “Add Page” or “Add Subpage”
All the pages and the main navigation will be created in one shot after clicking “NEXT”

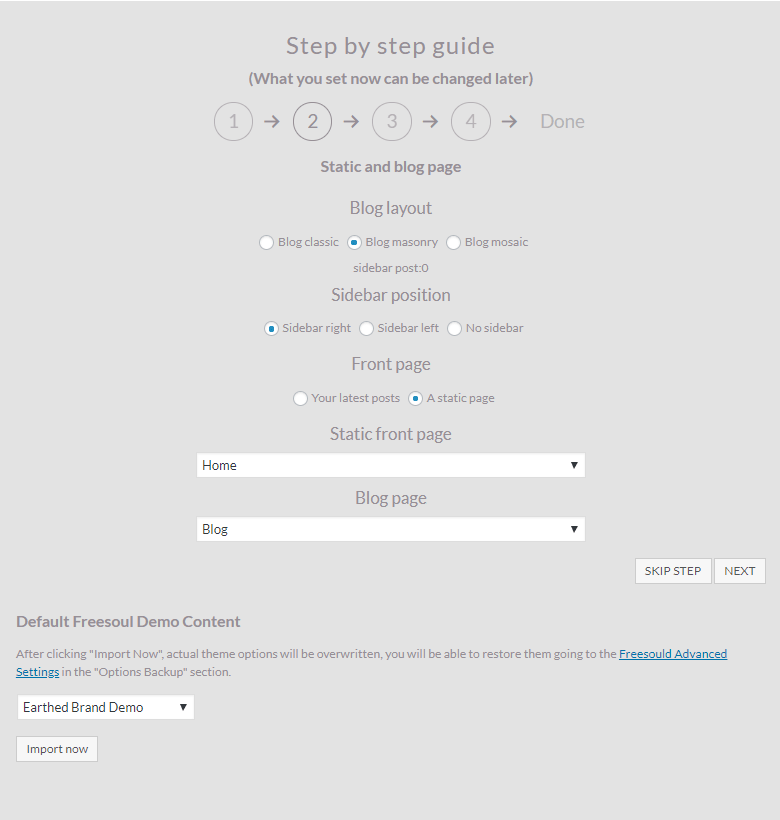
In this step you can assign:
- the blog layout (classic, masonry, mosaic),
- the sidebar position for the blog page and the single posts
- the page to show as the home page
- the page to be used for collect the posts previews (blog page)

In this step you can assign the main style of your site, choosing between:
- Earthed Brand Style
- Lighthearted Brand Style
- Classical Brand Style
- Minimalist Brand Style
Each style represents a package of fonts and colors that are suitable for different kind of personalities.
We believe a website should be the expression of who is behind it. We have prepared 4 styles believing that one of them will fit better with you. This step is intended to give you a first starting point for the brand identity, of course, you will be able to change colors and fonts in “Freesoul Settings”.
To choose the best brand style that fit with you, go to https://eoskoch.com/quiz/

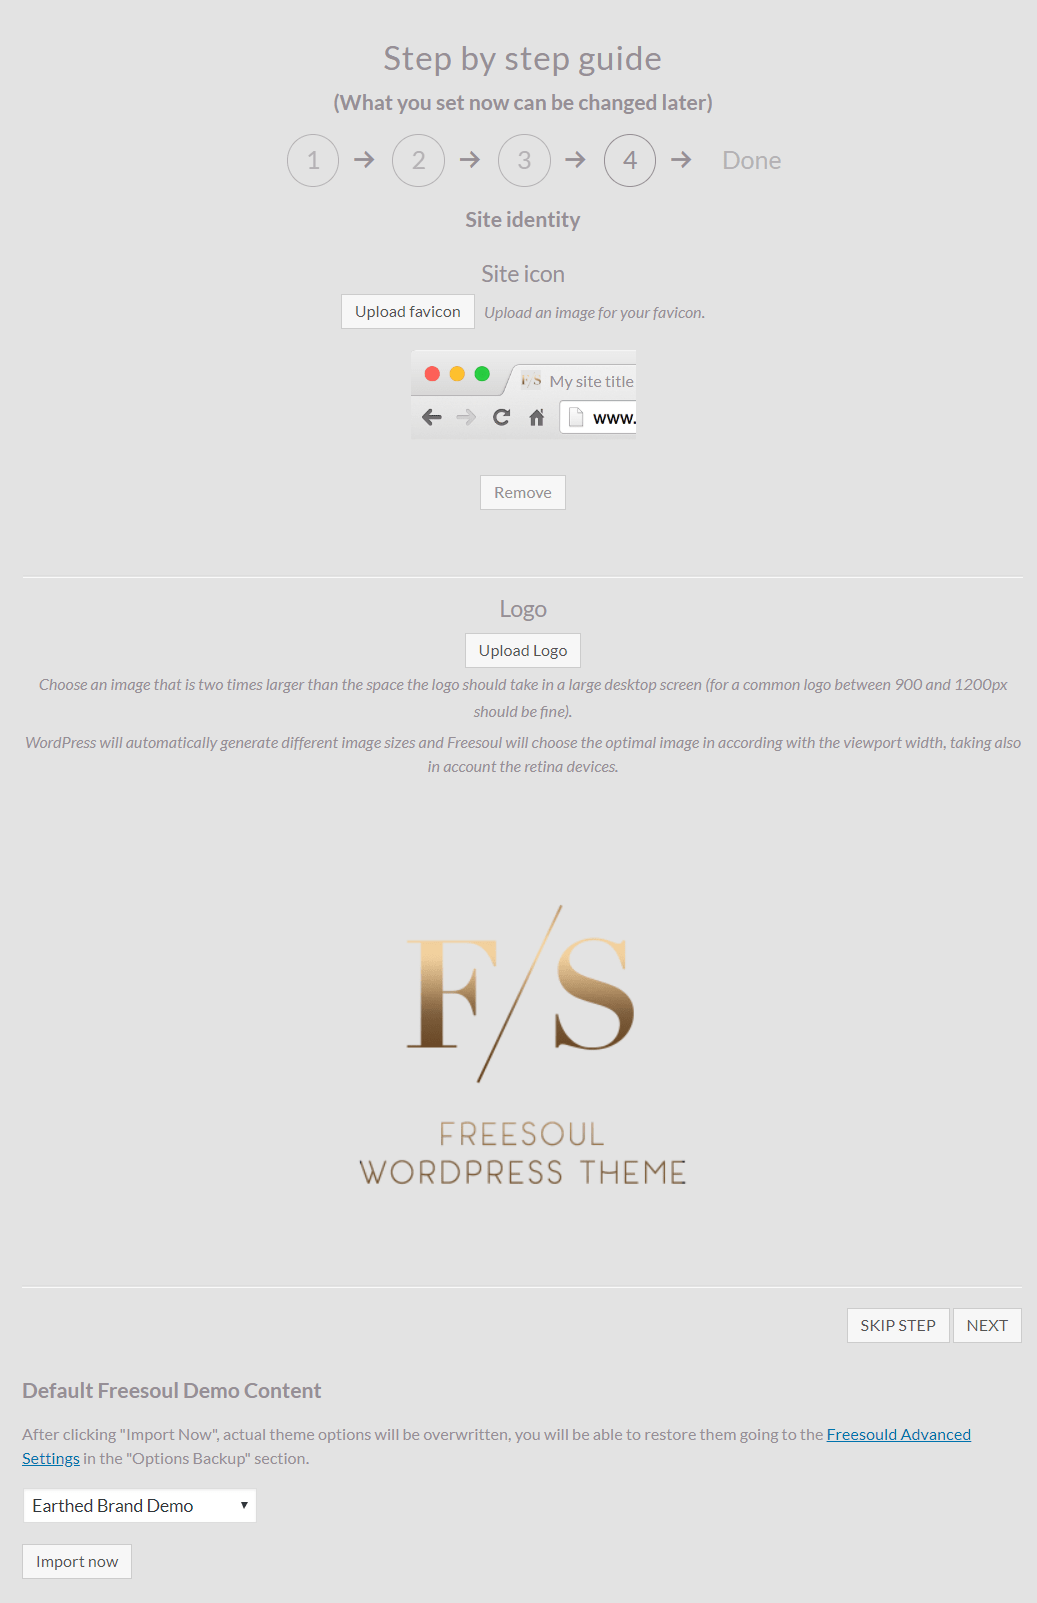
In this step, you can set the site icon and the logo.
A favicon (short for favorite icon), also known as a shortcut icon, website icon, tab icon, URL icon, or bookmark icon, is the icon associated with the webpage. Browsers (google chrome, internet explorer, safari, firefox, opera …. ) that provide favicon support typically display a page’s favicon in the browser’s address bar, next to the page’s name in a list of bookmarks and next to the page’s title on the tab, moreover some specific browsers use the favicon as a desktop icon.
For the logo choose an image that is two times larger than the space the logo should take in a large desktop screen (for a common logo between 900 and 1200px should be fine).
WordPress will automatically generate different image sizes and Freesoul will choose the optimal one in according with the viewport width, taking also in account the pixel ratio (important for retina devices).
After setting your logo, you can call everywhere in your site (typically in the content element created for the header) the Freesoul Builder element “Logo”.
Importing demo content
If you prefer to have one of the Freesoul Demo Content exactly as they are presented on the Freesoul demo sites, just click on “Import demo content”, then you will see a dropdown list including the demo contents that are available. In a default Freesoul Installation you will have 4 demos, one for each main style.
